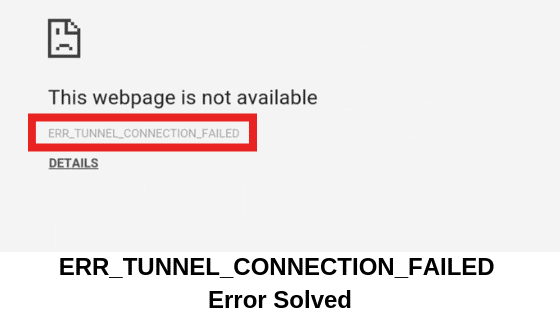
While using Google Chrome, the most common error that we all experience at some point or other is the ERR_TUNNEL_CONNECTION_FAILED. When you are looking for something on the net and this error pops up, it can be really annoying. Mostly, when a VPN (Virtual Private Network) or the proxy users have misconfigured settings that lead to a header data error. This issue is something that Google Chrome does not fix due to security reasons and it leaves this one for the users to fix their own way. But not to worry as we have got for you the way through which you can resolve the ERR_TUNNEL_CONNECTION_FAILED error.

How to fix ERR_TUNNEL_CONNECTION_FAILED Error?
Method 1:- Reset TCP/IP and Flush DNS
Step 1:- Run the Command Prompt as administrator. For this purpose, Find the Command Prompt from the Start menu and right click on the same. Next, Choose Run as administrator. Further, click on YES when prompted by User Account Control.
Step 2:- Enter the commands given below in the command prompt and make sure that you press ENTER after every command.
ipconfig /flushdns
nbtstat-r
netsh int ip reset
netsh winsock reset
Step 3:- This is it! I hope this one could solve the error tunnel connection failed fiddler.
Method 2:- Change DND Server Address
There hardly comes issue with Google Chrome in connecting to DNS servers and making use of the service to choose IP Addresses. But, at times, when it faces any hurdles, you will find the ERR_TUNNEL_CONNECTION_FAILED error message on the screen. This generally happens when the DNS address provided by your Internet Service Provider is not correct or supportive to your proxy server. By changing Google’s DNS address you can solve this issue.
Step 1:- On the Windows taskbar, go to Network. This is the menu that is used to connect to Wi-Fi. Then open the Open Network and Sharing Center by right-clicking on it.
Step 2:- Now, a window will open on your screen. Go to View Your Active Networks. There, click on the network that you are connected at that moment.
Step 3:- In the Internet Connection Status window, click on the option of Properties.
Step 4:- Now navigate to the Networking tab and in the list of items the connection uses, look for and double click on Internet Protocol Version 4 (TCP/IPv4).
Step 5:- You will now come across a box- Obtain DNS Server Address Automatically. Uncheck this box. When you do so, input the below two addresses:-
Preferred DNS server: 8.8.8.8
Alternate DNS server: 8.8.4.4
Step 6:- Tick the Validate Settings Upon Exit option and then click OK. Now restart the PC. You may be able to avoid the harmony issues between your proxy service and your browser and the DNS lookup procedure by setting Google Chrome to lookup IP addresses using Google’s DNS server.
Method 3:- Use Proxies supporting HTTPS Protocol
Another reason why you might be encountering with the ERR_TUNNEL_CONNECION_FAILED could be due to the proxy services you are using do not support the HTTPS Protocol of Chrome. That is the only support HTTP.
The HTTPS Protocol say- Two communicating systems agree on a code which establishes their identities before they share any information. Now, the poor quality proxy providers do not put efforts into engineering ways so as to resolve HTTPS requests in Chrome. And thus Chrome assumes this poor proxy to be some hacker and you see the error on your screen.
Must Read: How to fix “Google Play Authentication is Required” Message
Method 4:- Change Network Settings
Step 1:- Go to Google Chrome Browser. Go to the Menu tab by clicking on the three dots present at the top right corner of the screen.
Step 2:- In the Menu, open Settings. Further, in the Settings option, click on Show Advanced Settings.
Step 3:- Over there, choose Change Proxy Settings in the Network tab.
Step 4:- A pop up will appear on the window. Click on LAN Settings in the Connections Pane. Untick the option of Use a Proxy Server for your LAN.
Step 5:- Then click on OK and restart your PC.
Read More:- How to Fix ERR Connection Closed Error
Wrapping Up:-
I assume you all found the above article helpful. If you are still stuck at any of the steps or have any queries or suggestions to ask for, feel free to let us know in the comment section below. We will be glad to help you. Also, keep visiting our page- Android Jungles for more such tech related articles. You can also bookmark our page.
Happy Androiding 🙂
