Bypass Gmail Mobile Verification in 2019: Even if the year changes, most of us just cannot bring into action some of our resolutions, one such being getting stuck in the Google Verification process of your device. However, some of the old year habits may still prove to be helpful in the new year. One such is bypassing your Gmail Account Phone Verification. Want to know how? Follow-
In this article, today, we are sharing with you simple and easy methods through which you can easily bypass Gmail Verification of your device. All you have to do is follow them.
Methods to Bypass Gmail Device Verification:
Given below are 3 Methods to Bypass Gmail Account Phone Verification. Of these, you can use any to bypass the Gmail Device verification.

Method 1: Bypass Gmail Phone Verification Screen for Android devices
The easiest way to bypass Gmail Device Verification is through an Android device.
Step 1: Go to the Settings Menu of your device.
step 2: Go to the bottom at Accounts Option. There, tap on the option of Add Account.
Step 3: Choose Google Account. You will now come across the Sign Up page of Gmail Application.
Step 4: Fill in the credentials that include- Name and Birth Date. To proceed further, click on the next option.
Step 5: Next, fill up the Email and Password for your account, as per your wish.
Step 6: Here, you will also notice a button to Skip the page. Tap on it and do not forget to check the box agreeing all the terms and conditions.
You are done here.
Method 2: Bypass Gmail Phone Verification on Computer or Laptop
Step 1: Go to the Google Chrome Browser of your Laptop or PC. Over there, go to Settings Option.
Step 2: In the settings, look for Sign In option and click on the same.
Step 3: A new display screen will pop up. Fill up your Google Account info on that page.
Step 4: In the same page, you will see an option to Create Account. Click on it and a new page will be shown.
Step 5: Here, put up your info that is asked and agree to all the terms and conditions.then Click to Submit. You can press the button to Sign up as well.
Your Gmail Account is now ready to use.
Method 3: Bypass Gmail Device Verification without using Phone Number
You can make use of this method in Case you want to create a Gmail account without even informing about your real Gmail Account.
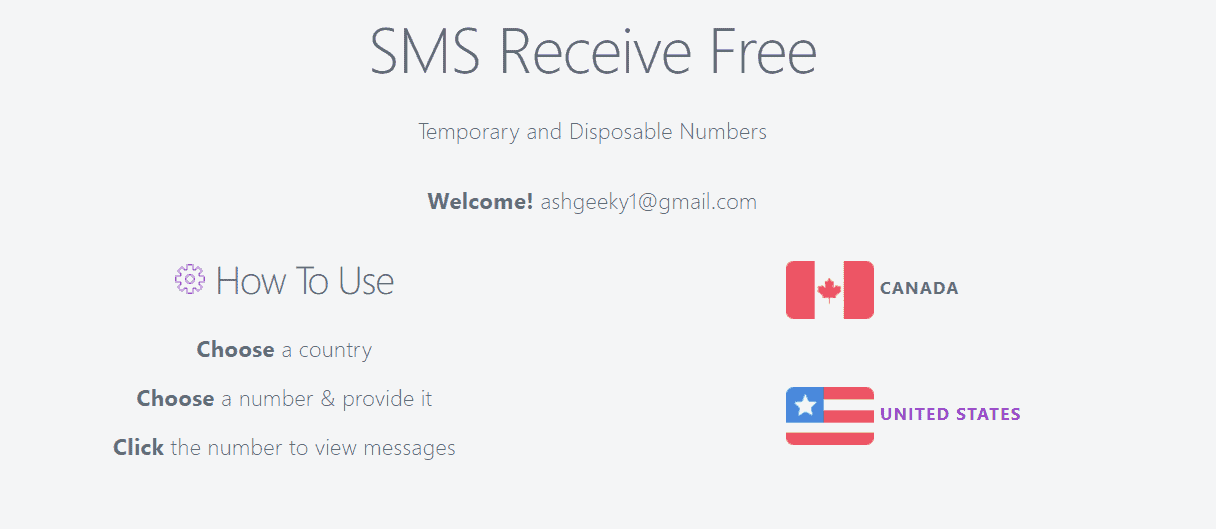
Step 1: Visit the website- smsrecievefree and there, choose any country.

Step 2: Here, you will come across a number of mobile phone numbers which can be used.

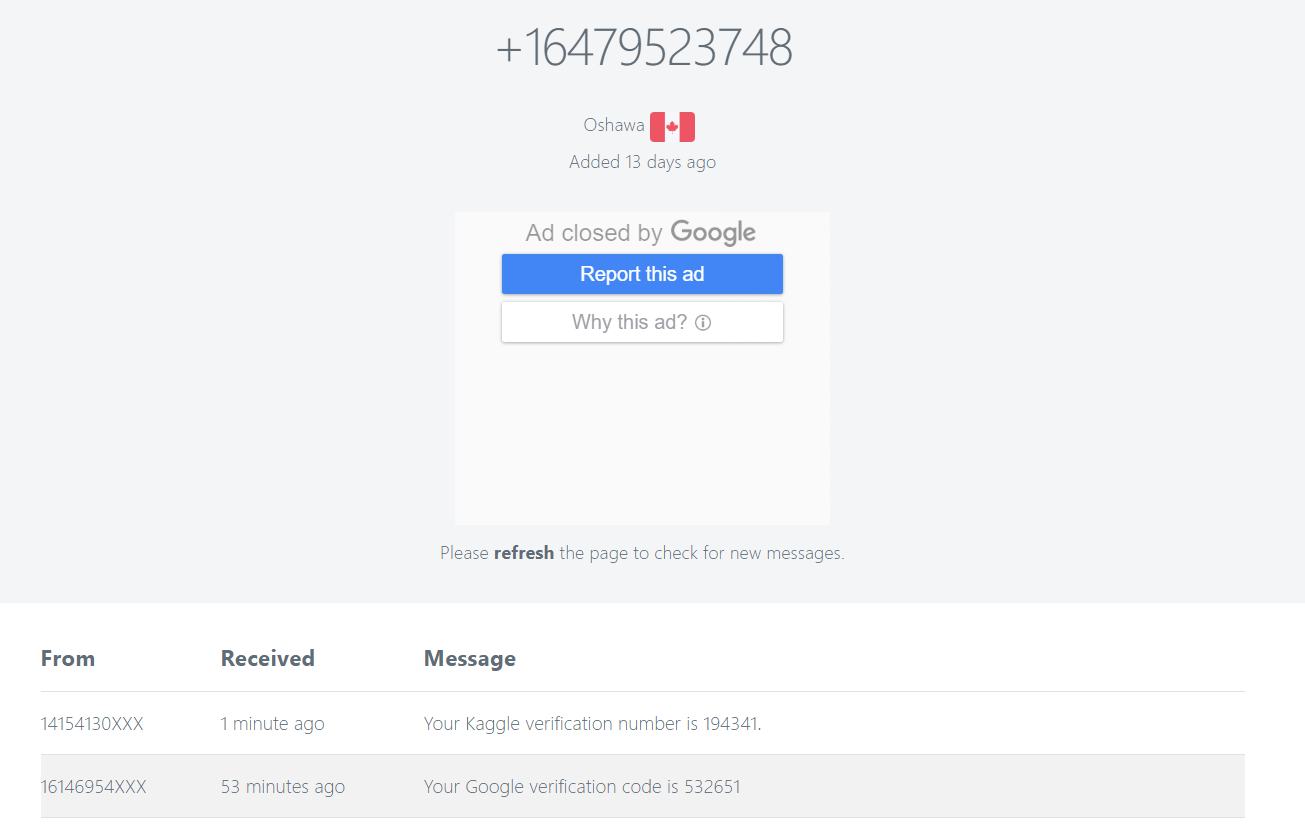
Step 3: Copy whichever phone number you wish to use. Paste it on the Gmail Verification page.
Step 4: At the Gmail Verification page, Click on the number and you will be sent a confirmation code. Copy it and paste on the Verification page and Click on the Verify Option.

That is it! You just created a Gmail Account without using your Phone number.
Must Read: Download Youtube Vanced Apk for Android Phone.
Wrapping Up:
Hope you all found the article of use. In case of any sort of doubts or queries, feel free to let us know in the comment section below. For more such articles, keep visiting our page or You can also Subscribe to our Newsletter.
Happy Androiding 🙂
